I don’t mean to brag…but I saw a DRASTIC increase in attention from my Instagram pics after I learned how to actually take good pictures. Instagram is an art, and I don’t care how weird I sound saying that. Unless you want to get scrolled right over, you need to create compelling content, just like you would for your blog posts, business proposals, and emails convincing someone to hire or not fire you.
Think of each photo as a storyboard process. You start with an idea, figure out how to make it come to life, then execute it in a way that will attract the most attention. Here’s a few tips for accomplishing that process:
Sometimes you’ll see something cool, take a photo, and just post it. BUT, you’ll get a better outcome if you already have an idea about what you want the picture to look like, then try a few different angles and strategies, then go through them later to see what works.
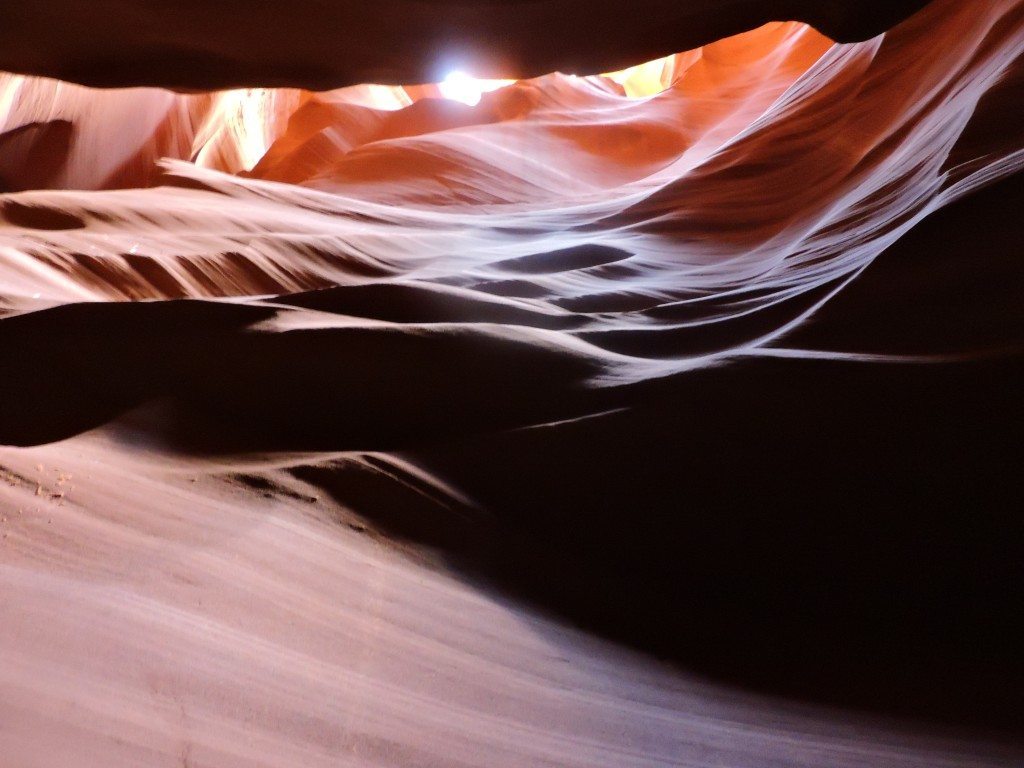
For example, I knew I wanted a photo that looked like I was “moving a mountain” at the Grand Canyon, so when I finally found one that would make a good picture, it was easy to angle my camera to get the shot.
Granted, some of the most awesome photos come from un-planned captures, but having an idea will at least help with the creative process.
There have been PLENTY of times where I’ve felt awkward or embarrassed for using a selfie stick, taking a selfie, or doing something crazy like hanging my legs over a cliff, in order to get a good picture. But you know what? I didn’t give a shit, because my pictures turned out awesome and unlike any others like them.
If you have to use something or do something that will likely cause some raised eyebrows…do it anyway. It’ll definitely be worth the shot.
I also tend to get accused of “always being in my pictures”…..well….yes, no shit I’m always in my pictures, they’re MY pictures, but I don’t get in them because I like to see my own face. In fact, the majority of the pictures I’m actually in, you’ll only see the back of my head, or hat.
I use myself as the secondary subject, with the place I’m at or scenery as the primary one. I do this because I believe that if people wanted to stare at pretty pictures of scenery, they would just look through a National Geographic magazine, or Google images, which all look the same. No other picture is going to have my messy blond-ish hair waving in it, which is what makes my photos unique.
Find a way to incorporate yourself, or something that represents you into your photos, whether it’s a token angle, theme, or subject. Also experiment with different angles, modes, scenes, filters, techniques, etc. etc.
Trust me, I get beyond flattered when people ask me what type of DSLR camera I used to take the photo that I actually just took with my iPhone. While I’m typically quite jealous of cool DSLR pictures, I cannot afford a DSLR camera, nor can I afford to waste time trying to figure one out, or lug it around with me when I’m scaling mountains.
But, if you are someone who is mostly focusing on nature photography, you might want to invest in one. If you are more interested in “Instagram photography”, you have some other options. Here’s what I use for certain types of photos:
-iPhone 6
You can’t deny that the camera on the new iPhone is pretty sick. I’m sure it is on the Samsungs too, I just haven’t ever tried one so I can’t give my opinion. Anyway, I usually use my iPhone if I’m having someone else take a photo or if I’m trying to do a quick selfie and don’t have time to get my GoPro out. The pictures are clear, and there are several useful features like the timer, slo-mo, and panoramic option.
– GoPro:
I still use the Hero 3, because I don’t have any complaints about the quality of photos it takes…in fact, it’s pretty much the opposite. I’m still baffled that such a tiny little camera can take such awesome photos, which is why I freaking love it so much! Keep in mind that GoPro’s take panoramic-ish shots, so you’ll want to always shoot them from an angle. GoPro’s can also be used with a waterproof case, and will take some seriously awesome under water shots! It also has wifi-enabled which means you can connect it to your phone, which I also HIGHLY recommend, along with the timer feature.
– Nikon Coolpix:
I don’t know how to classify digital cameras so I’m just listing the one I use. When I decided I didn’t really need a DSLR I looked into this digital camera instead which has DSLR-like qualities…but is cheaper and easier to use. I mostly use it for the zoom, or to take naturey pictures that are mostly for my own viewing, but it still works pretty well.
– Bluetooth remotes:
Since I usually travel solo, I decided to invest in a bluetooth remote that works with my iPhone and GoPro so I can set it up with a little tripod (it came included if you just search “bluetooth iphone remote with tripod” on Amazon), and take the picture when I’m ready.
– Selfie Sticks:
Yes, as annoying and obnoxious as they look, they actually do take really cool pictures. I only use it with my GoPro and only when taking massive panoramas that include the back of my head, but I definitely have not been disappointed. I also use the stick as a mono-pod, and stick it either in the ground or in my purse to use it as a stand when I’m using the timer or Bluetooth options.
Have you ever seen something insanely awesome in real life, then taken a picture of it only to realize it looks drab or unrecognizable on the camera screen? That’s because it’s hard to capture real life. That’s why we use filters.
I use the app called Snapseed to filter photos, and usually use the HDR filter, then adjust brightness, contrast, structure, and sharpness. You kind of have to play around with it to see what each of the functions do, but once you get the hang of it, you’ll be beyond amused and impressed with how much better your pictures look.
It can be tempting…but don’t over-filter to the point that your picture looks like a cartoon. I’m guilty of doing this, so don’t feel bad, but other people will definitely notice and probably call you out as well.
Surely you’ve heard that there are peak times to post a photo on Instagram for maximum exposure. Depending on where your target audience is, you want to post accordingly. Typically the first thing I do when I wake up is post something at 8am PST so that I also get the people on the east coast as they’re going to lunch, and the people over in Europe as they’re getting off work.
Sometimes I’ll post a second photo if I’m super eager to share it and it goes with what I posted earlier, but for the most part, I won’t post more than 3 in a row of the same thing. If I have more to post, I’ll save it and use it a few weeks later for a #TBT or other related hashtag.
Again, I’ll admit, sometimes I get a little over-excited and ramble on about a photo I took, and then wonder why the photo doesn’t get as many likes as some of the others. That’s because Instagram is for looking, not reading. You scroll, you look, you double tap, you move on.
Plus I KNOW the majority of people don’t read the captions anyway because they end up commenting asking where the picture was taken. You’re better off saying something short and sweet and tagging the location.
As for promoting your blog or using hashtags, don’t over do it. People don’t like to feel like you’re trying to sell them something. If you have a new blog post and want to promote it on Instagram, post an insanely awesome picture that is related to it, and say something about the article and your blog in the caption, but don’t demand people to “Check out your blog, link in bio” on every photo you post.
I only use a handful of specific hashtags, but if you’re the type of person who likes to tag every possible tag to get you noticed, I’d suggest adding them in a comment instead of the caption, so it’s not obvious you’re trying to get the photo seen.
Don’t just post pictures that YOU think look cool. Pay attention to what people are commenting on, and always engage and comment back. Also pay attention to which photos tend to get more “likes” and comments, it’s an easy way to tell which types of photos do better than others!
Alyssa Ramos writes on Yahoo about her ethical encounter with 15 orcas that approached her…
If you've ever dreamed of moving to Italy or perhaps falling in love while traveling…
If Fukushima isn’t on your radar, let me enlighten you to this hidden gem in…
Oh hey look, there's 0 tourists in my photos of the Great Wall of China,…
I traveled solo to China’s viral “cyberpunk city”, Chongqing (pronounced “ChongCHing”) to see if it…
Snorkeling with orcas in La Ventana, Mexico was one of the wildest animal encounters of…