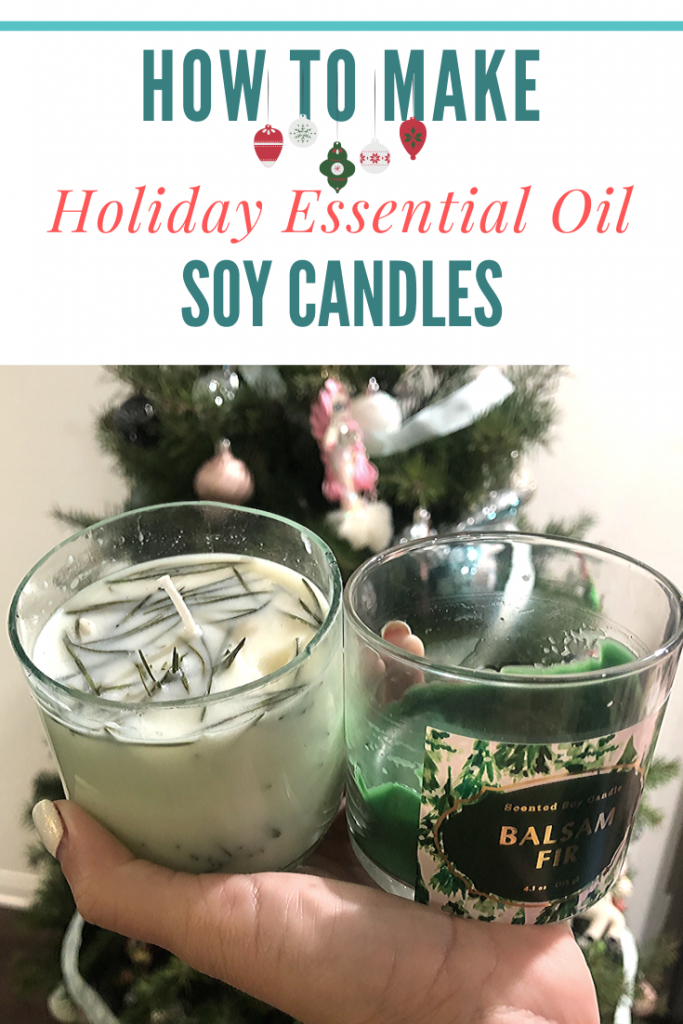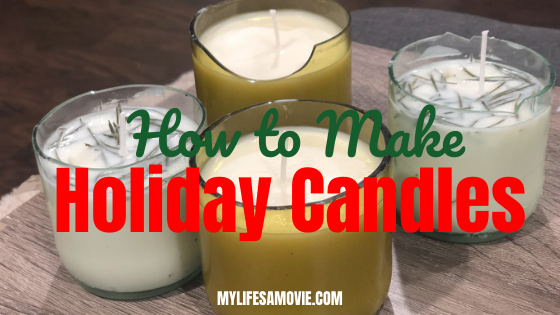
Follow this super easy DIY holiday essential oils candles tutorial for the most unique (and affordable!) holiday gifts this year!
All you need are a couple of cheap items that you can get off of Amazon which I’ll list at the end of this tutorial. You can also switch up the scents and order your favorite essential oils instead of the holiday scents!
TIP: For the containers, try using anything you can recycle! I use tin dog food cans (washed out of course) that I paint, and I also learned how to cut glass wine bottles which I’ll show you how to do!
These make GREAT gifts and also a super fun, unique activity for your friends and family!
So let’s get started shall we?
(NOTE: You can find all the items you need to make these at the end of the blog post)
Jump To:
Step 1: Create Your Candle Container
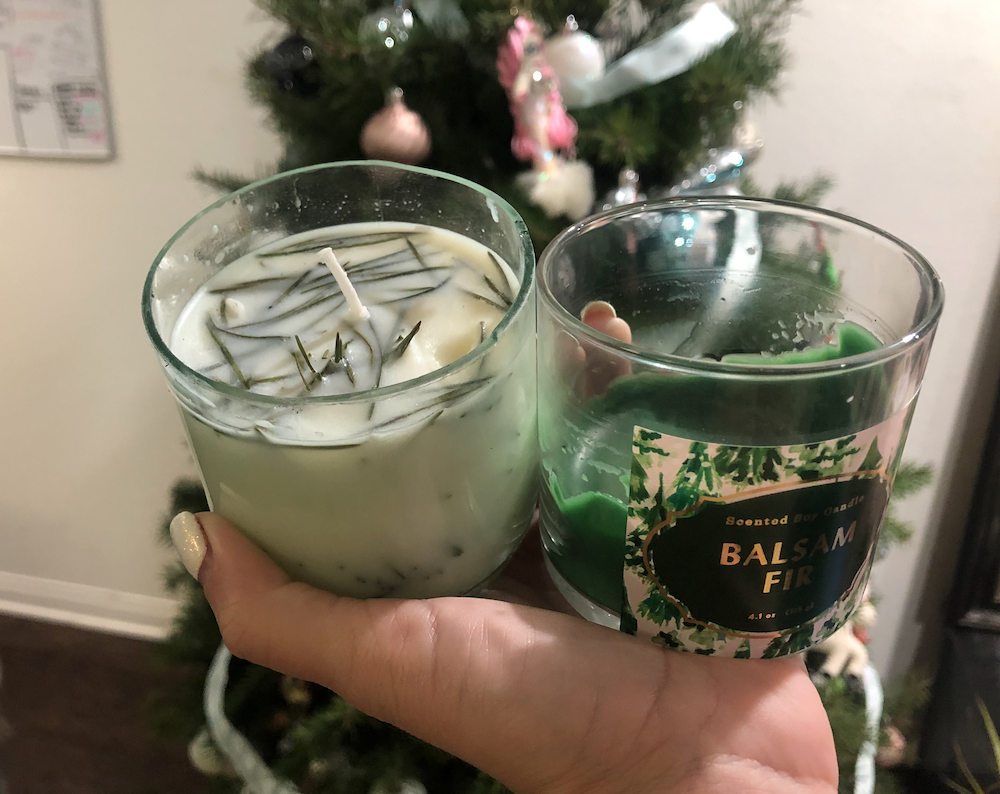
Remember, this is an awesome opportunity to recycle your empty beverage containers! I’ll show you how I make them from both wine bottles and tin cans.
How to Cut Wine Bottles for Candle Making
This takes a couple of tries, but once you get the hang of it, you’ll be really happy with the results! Be sure to read my instructions carefully and be patient!
Time needed: 30 minutes
How to Cut Wine Bottles for Candle Making
- Remove Labels
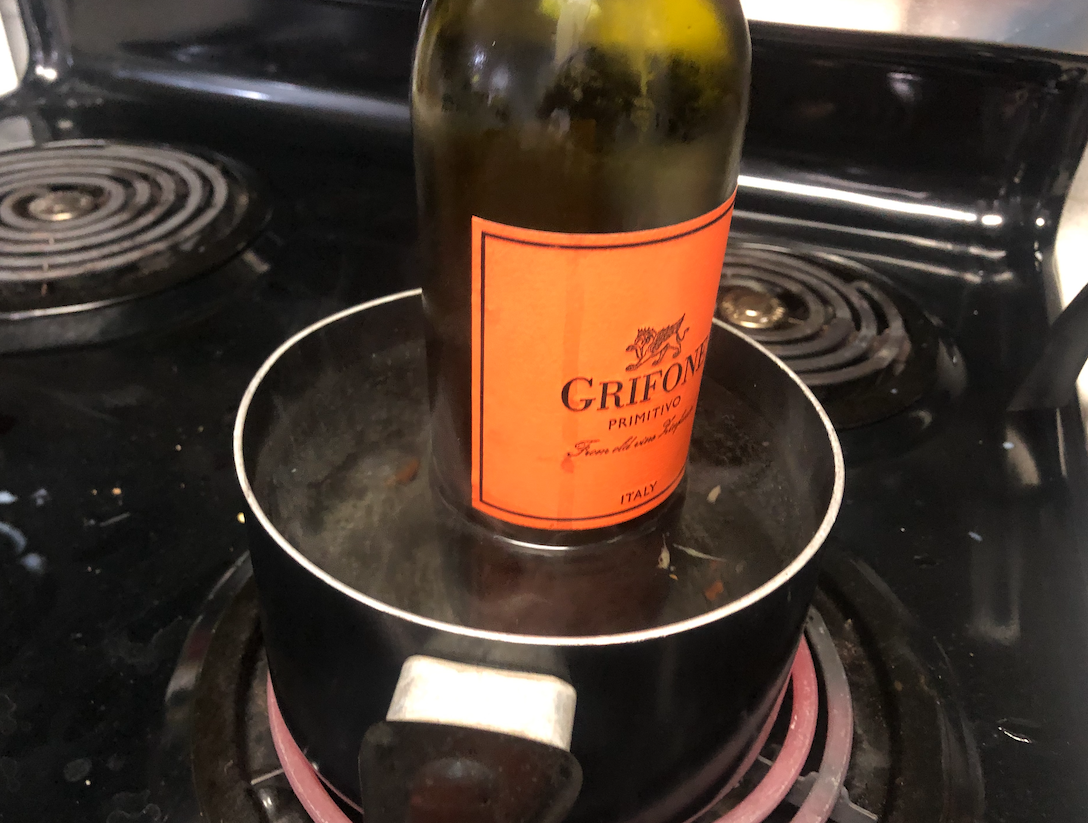
Remove labels by soaking the bottle in hot water, then use a spoon to scrape them off. If there’s still sticky residue, put it in the hot water again, then take it out and wipe hard with a dish towel. IMPORTANT: Let the bottles return to room temperature before you attempt cutting them, otherwise they’ll break! You can keep the hot water boiling because you’ll need it again later.
- Set Up Glass Cutting Device
Set your glass cutting device up so that it makes the scratch about 5-6 inches from the bottom of the bottle. You can try to make taller candles, but when I tried, the glass broke.
- Position Bottle
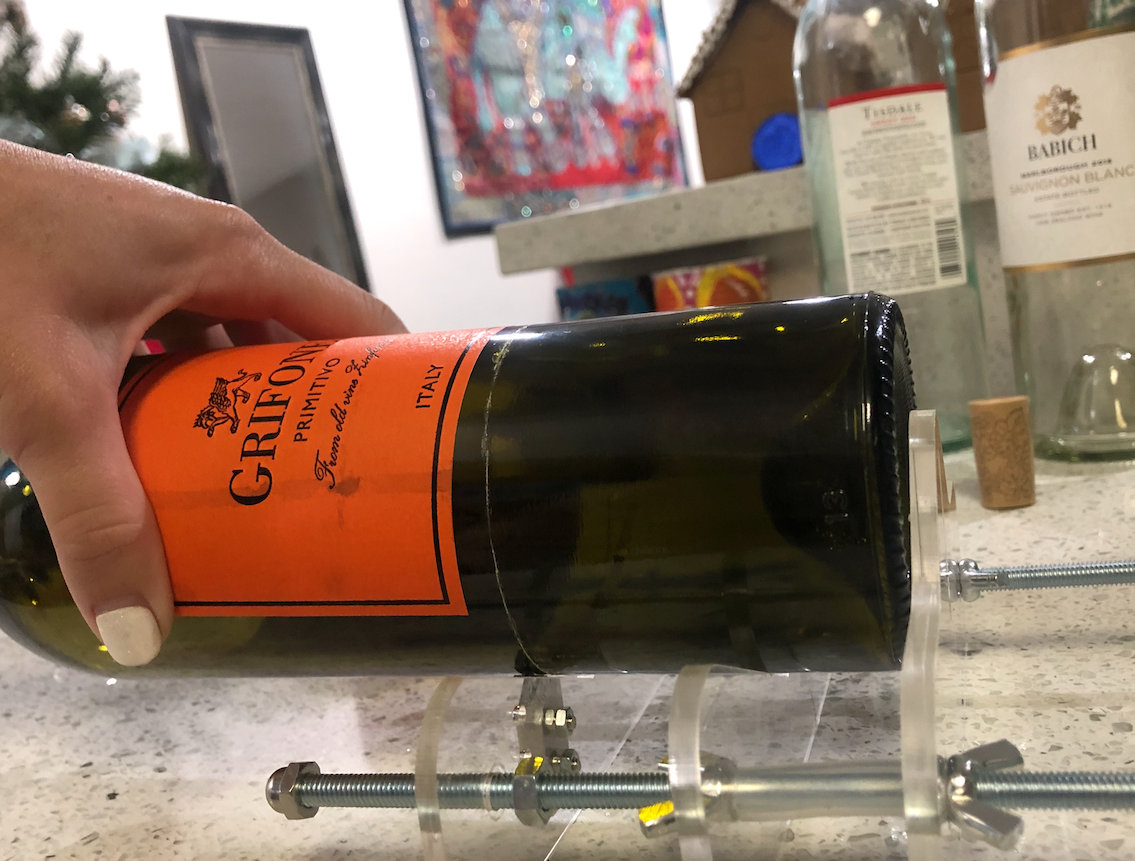
Position the bottle on the device so the bottom is against the stopper and the area you want cut is on the cutter.
- Slowly Roll Bottle Towards You
Slowly and carefully roll the bottle towards you, making sure to note where you started, and that the line is staying straight as it goes around the bottle. IMPORTANT: Only go around ONCE if you can, otherwise it’ll make an uneven cut.
- Get Your Hot and Cold Water Ready
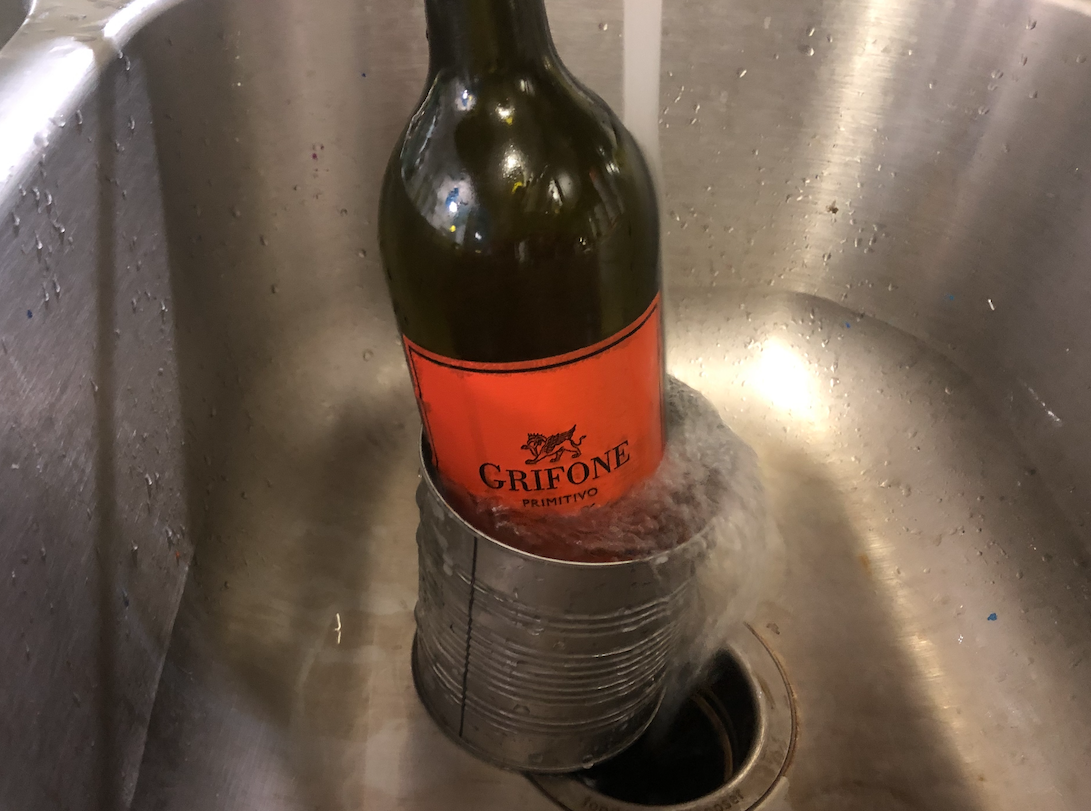
Make sure your water is boiling, and set up a second bowl in the sink with cold water in it (This worked best when I kept the cold water running)
- Place Cut Bottle in Hot Water
Carefully place the cut bottle in the hot water, making sure the water goes over the cut line, and hold it there for 5-10 seconds.
- Switch the Bottle to the Cold Water
Remove the bottle from the hot water and place it straight down in the cold water (don’t let the water reach one side before the other, it has to go in all at once or it’ll crack). Some times the bottle will separate on the first try, if not, repeat the hot water then cold water process two more times.
- Remove and Dry the Bottom Piece
Once your bottle has separated, carefully dry the bottom piece that you’ll be using for your candle. If there’s still sticky residue from the label, put it back in the hot water for a few seconds then take it out and wipe with a dry towel.
- Sand the Sharp Edges
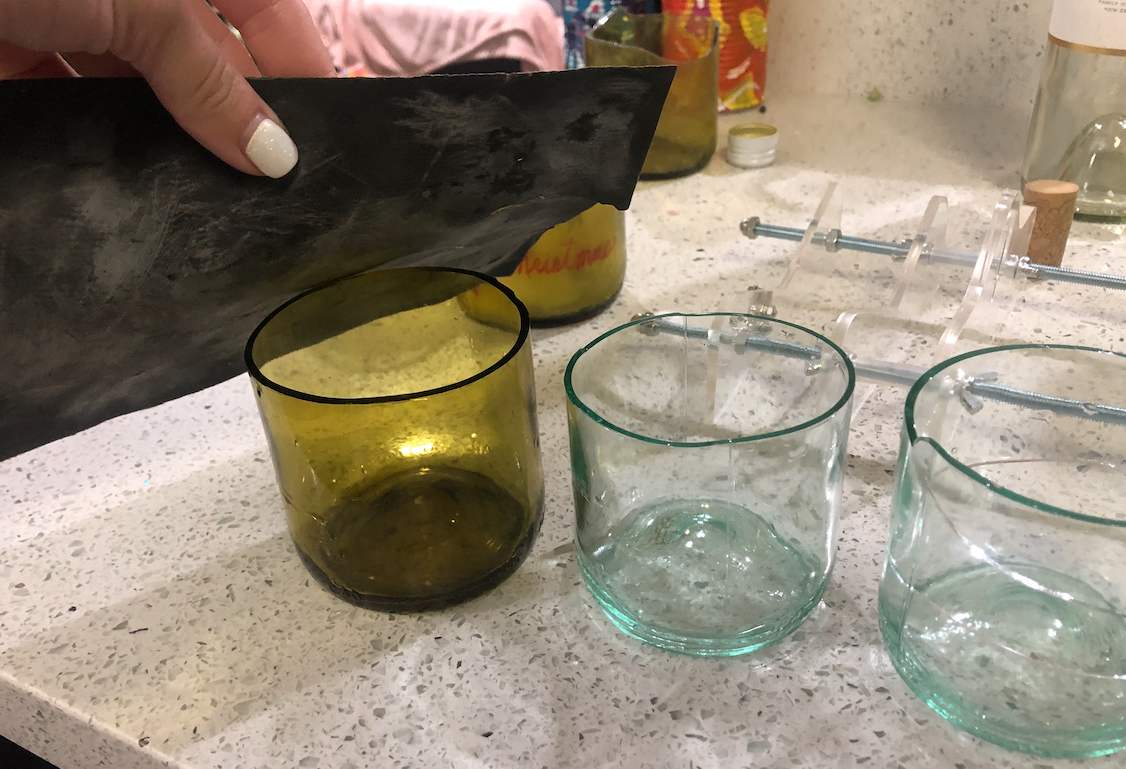
Use a piece of sand paper (or a nail file) to smooth down the cut part so that you don’t cut yourself!
Step 2: Pick Your Essential Oils Scents
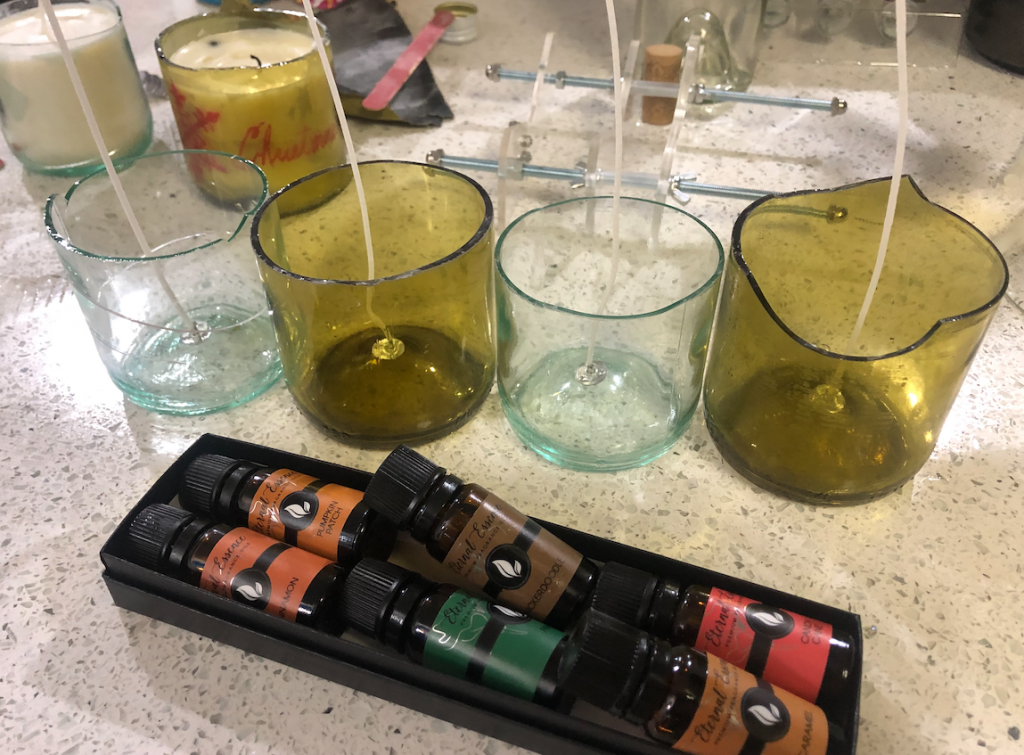
Picking your essential oils scents can get a little tricky because they smell extremely potent in the bottles. In fact if you smell one that’s too strong, it can alter the way you perceive the others!
My tip is to hold the bottle farther away from your nose and wave it just a couple times. If you’re left with the strong scent in your nose, use coffee beans to neutralize it!
You can mix and match scents as well as use different amounts of each!
Step 3: Glue Your Wick to the Bottom of the Glass
Some candle making kits come with little stickers to secure wicks to the bottom of jars, but if not, you can just use a glue gun! The wine bottles can be a little tricky because some have an inverted bulb at the bottom, but you can glue the wick so that it goes down the side of it.
Step 4: Measure Your Essential Oils
Use the kitchen scale to measure how much of the essential oils you add to your candle. It may seem like a tedious task, but too little will make the candle not smell and too much will waste all of your essential oils!
For most “wine glass jars” that you cut at 4 inches, you can use a measurement of 18 grams.
To measure that, place your jar on the scale WITHOUT the oils in it, and hit the “tare” button so it goes to zero. Then start adding in your oils until you reach a total of 18 grams.
Step 5: Heat and Add Wax

You can order a big box of natural soy wax online according to how many candles you plan on making. A box of wax with wicks for 150 candles was about $30, but you can obviously get less!
To melt the wax, you’ll need a bot of boiling water, and either a smaller pot to go inside of it, or the candle-making pot that you can get online for about $8.
Fill the smaller pot up with wax shavings; it should look like there’s about 3 times as many shavings as your candle jar. Then put the smaller pot in the boiling water.
Use a stick (I used a wooden chopstick) to stir the wax shavings as they melt. If it looks like you’ll need more wax, go ahead and add more.
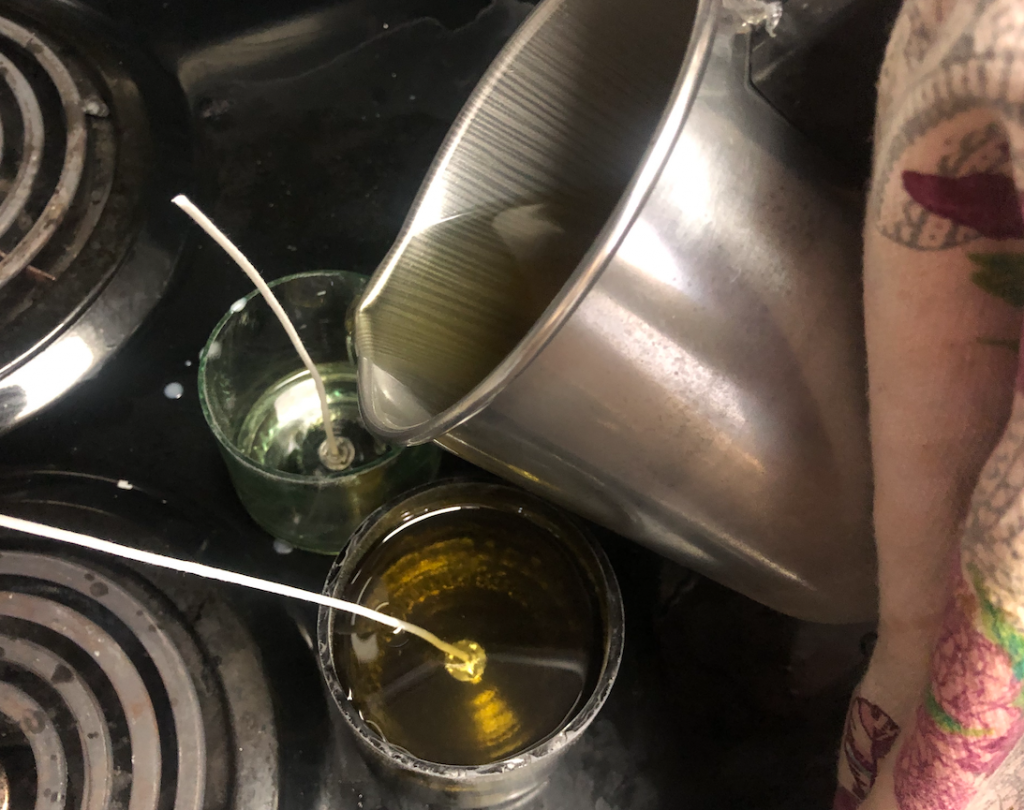
Once all the wax is melted, carefully pour it into your jar with the essential oils. Use the stick to gently mix the oils around with the wax.
Step 6: Let Your Candle Dry Then Decorate It
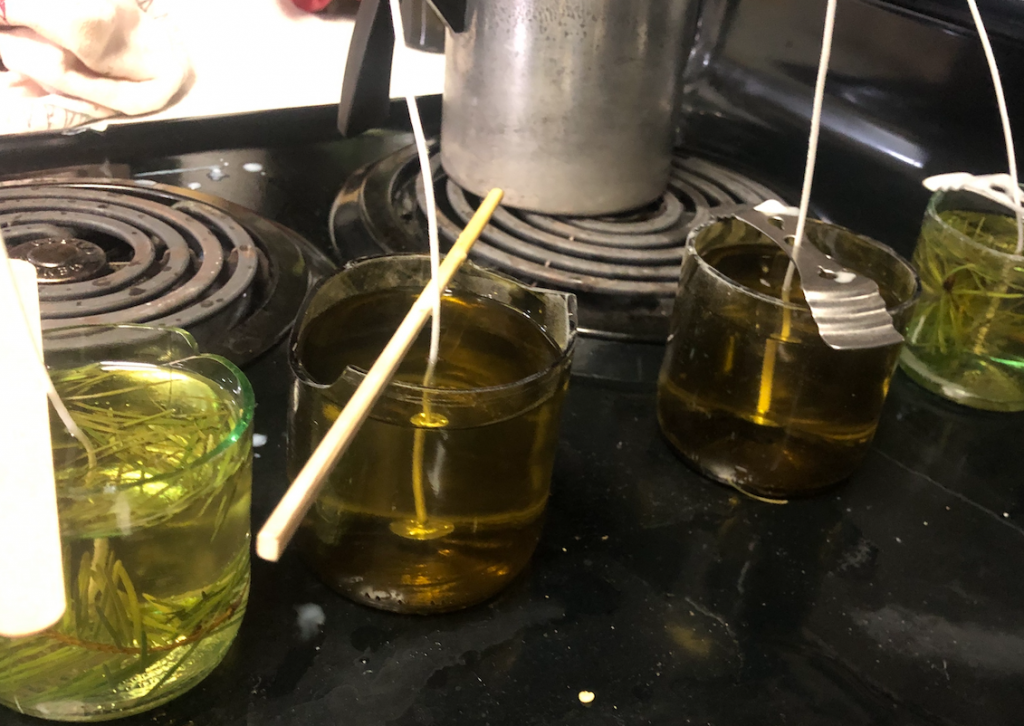
Since I’m impatient, I put my candles in the freezer to harden faster. But technically you’re supposed to let them harden at room temperature. It’s up to you!
Once they’re completely hardened, you can clean the outside with a dry towel to remove any excess wax or essential oils.
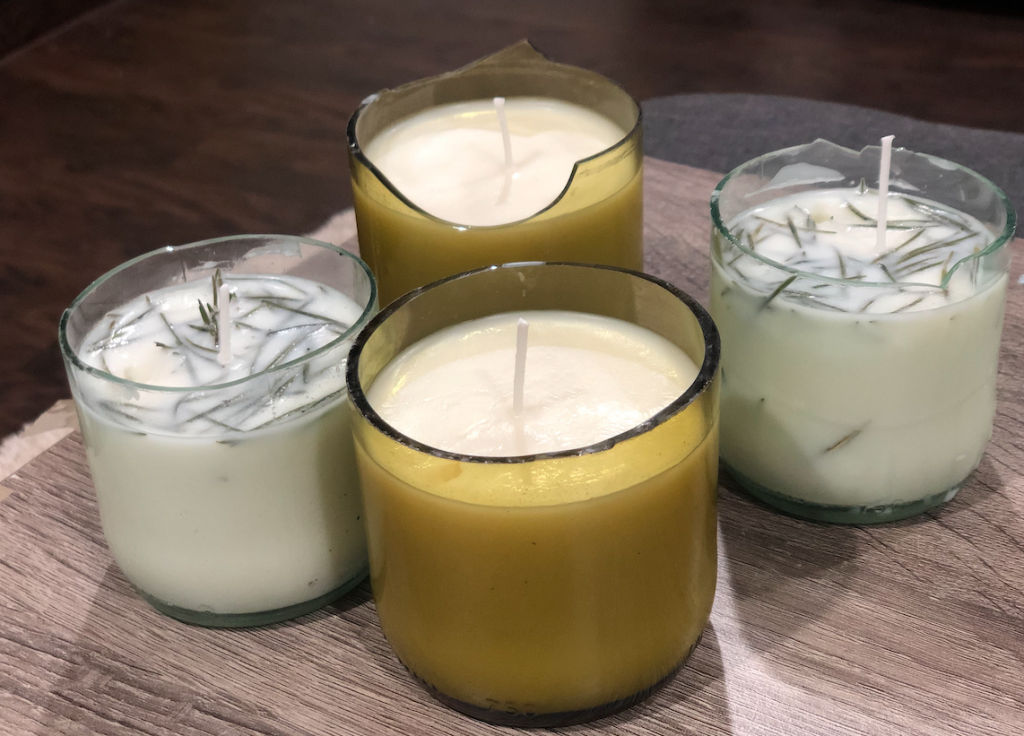
Then, use metallic permanent markers to draw snowflakes, or any other holiday inspired decorations!
Wine Glass Cutting Supplies:

Candle Making Supplies:


