Yes, I will admit that I thought I’d be able to take a cool GoPro picture or SnapChat snap with my iPhone if I saw the Northern Lights when I went to Norway. No one really tells you you can’t or explains anything about it, they just post awesome green light pictures that make you think it’s an easy shot to get. But that’s so much wrong on so many levels.
First of all, let’s start with the “if you see them” part. The Northern Lights aren’t just some tourist attraction you can arrive at, take a few selfies with, then leave to go off and post about on Instagram. They aren’t predictable although there are ways to guess where they might be, but even if you can do that, there’s still no telling how strong they’ll be. I’m not saying you’re not going to see them if you go chase them, I’m just letting you know that you should have low expectations, and understand that you can’t control the weather.
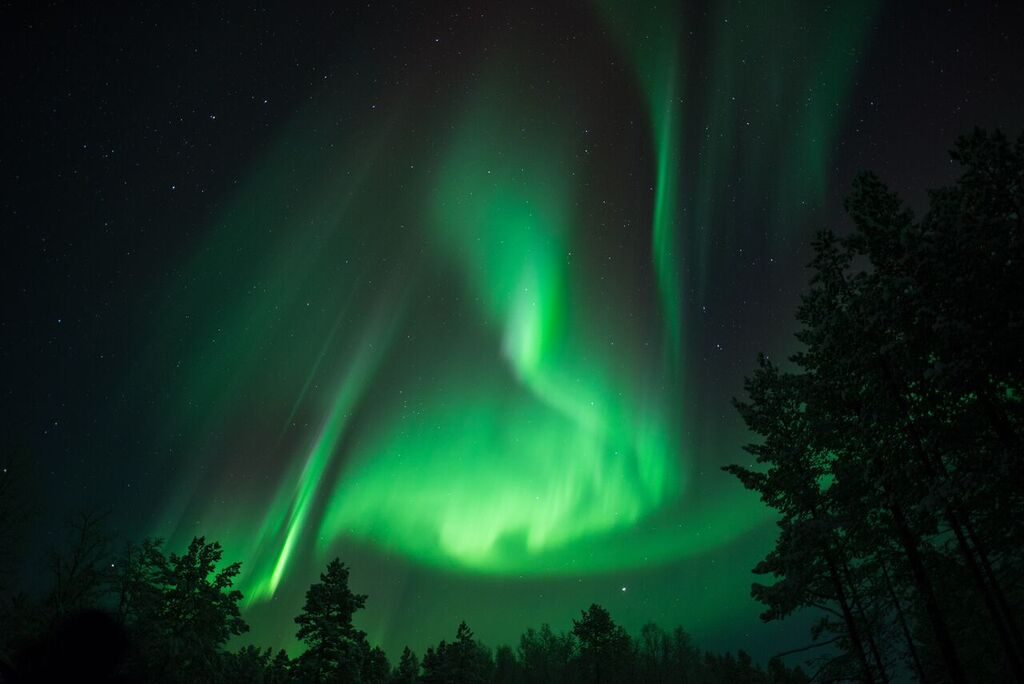
That being said, I did happen to saw the Northern Light both times I went out on my chase with Chasing Lights, so according to me, you have a good chance. (See my guide on 10 Crucial Tips for Seeing the Northern Lights for information and tips on how to see them).
Second of all, you can’t capture the speed of light on an iPhone. Think about it. Light travels way faster than your phone’s ability to take a picture. I still tried to several times of course, because the Northern Lights I saw were so beautiful that I involuntarily pulled my phone out to take a picture. Since they were so bright I got to see a green blurry line, but nothing compared to what the correct camera can capture.
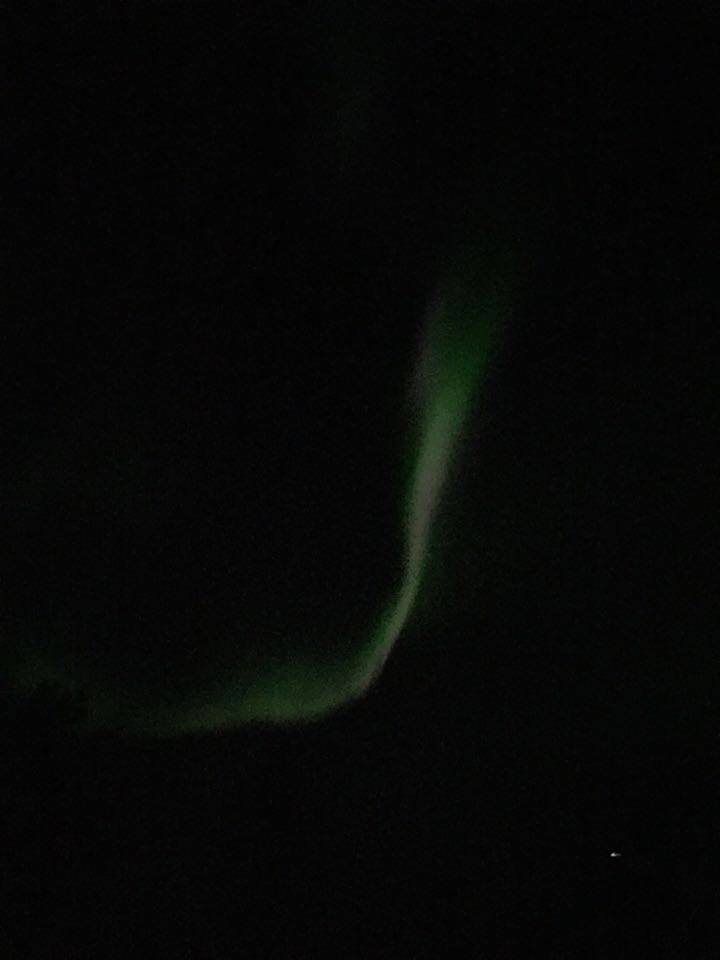
You need a powerful DSLR camera with a strong lens to actually get a clear shot of the Northern Lights. Unfortunately I don’t have a big, fancy, expensive DSLR camera, but it didn’t matter because my tour guides took some for me instead. I know everyone wants that token Northern Lights picture like I did, so I asked my guides to explain what type of camera you need, and how to use it:
Jump To:
Type of Cameras
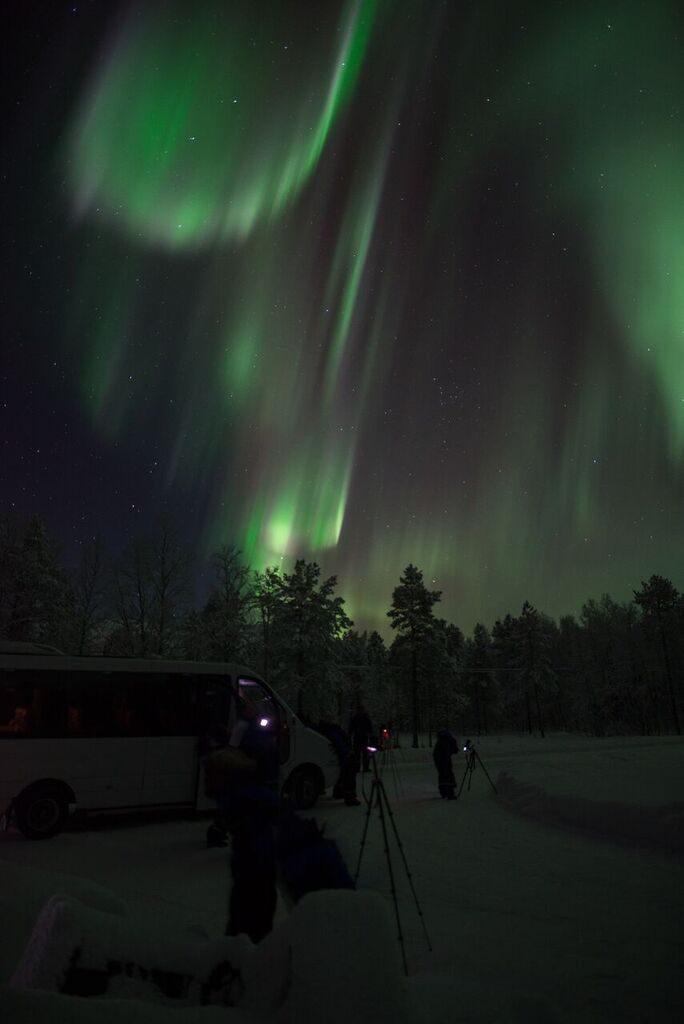
DSLR cameras are those big important-looking cameras that professional photographers, or people who really like taking good photos use to get amazing high resolution photos. DSLR stands for “digital single-lens reflex”, which refers to the action of a mirror that flips upwards whenever you take a picture to allow light traveling through the lens to reach the sensor. The reason why these types of cameras produce such high quality images, and are capable of capturing things like light, is because they can take long exposures, which allows you to manipulate time and speed in order compose the perfect picture.
I don’t really know much about DSLR cameras since, I don’t own one, but I asked my tour guides who are also photographers, and they gave me some information. Thomas, the owner of Chasing Lights said:
“I recommend a DSLR or a micro four-thirds camera. Micro four-thirds are getting more and more popular. Personally I use a mix of Nikon and Sony brands for the cameras and Nikon, Sigma & Samyang lenses. So there’s not anything specific I can recommend, but the lenses should be wide angle and come with a high aperture.”
Using the Right Settings

If you do have a DSLR camera, you also need to know how to use it, otherwise the picture probably won’t come out. Like I said, according to my guides who are also photographers; it’s important to have a camera that can take long exposures, and also a lens that has a wide aperture with a low number like 2.8. The photos they were taking usually took 6-8 seconds, which I know because that’s how long I’d have to stand in a pose for, and that’s because the camera takes several shots then pieces them all together.
Essential Equipment
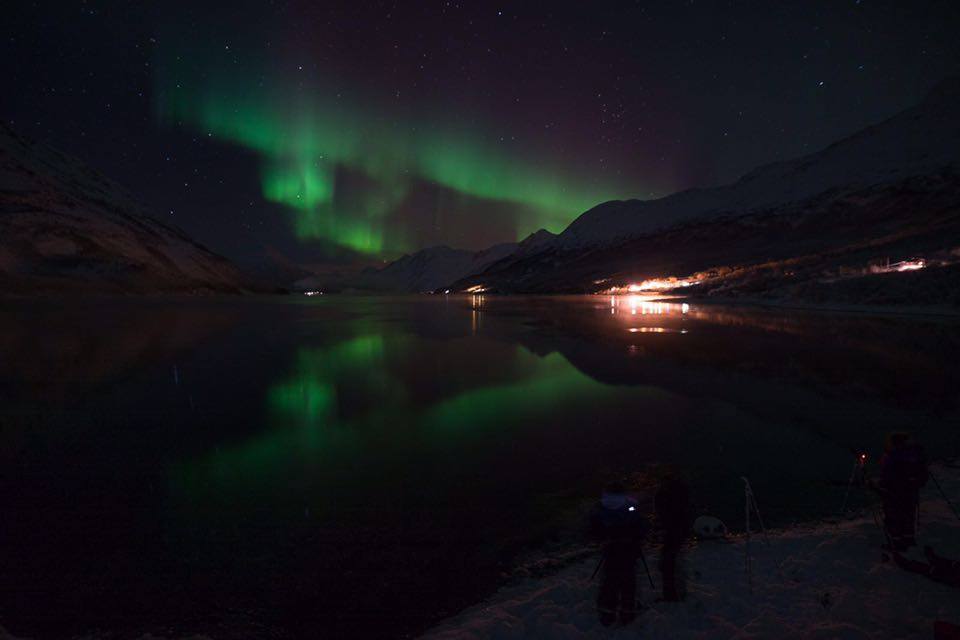
Although I didn’t have a DSLR, I still attempted to use my digital Nikon to take a picture, but made another naive assumption that I would be able to just point and click my camera. Nope. Can’t do that. You need your camera to be completely still for the couple of seconds it needs to take the photo. Luckily Chasing Lights brought tripods for every person to use, so you don’t need to worry about lugging one around with you if you travel to Norway to see the lights.
They also brought extra camera batteries because the extreme cold weather makes your battery die really fast, and although you can revive it by warming it back up, it’s best to have a back up in case you’re in the middle of a good light show. They also used a flash to take the photos where you can actually see me in them, and for that they just used the flashlight on their iPhone, but said you can also use a camera flash or headlamp.
How to Make Yourself Visible in the Photo
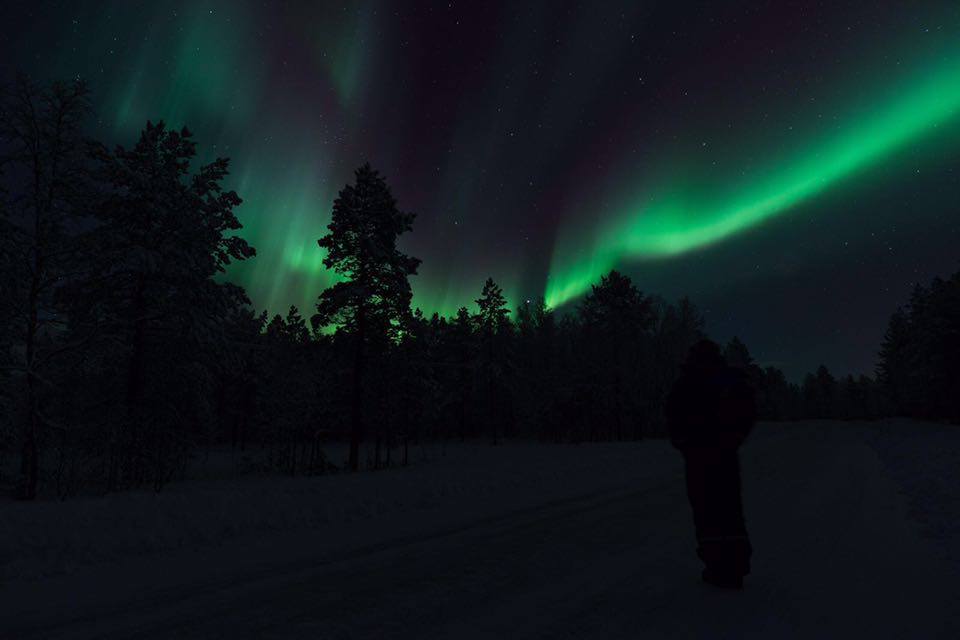
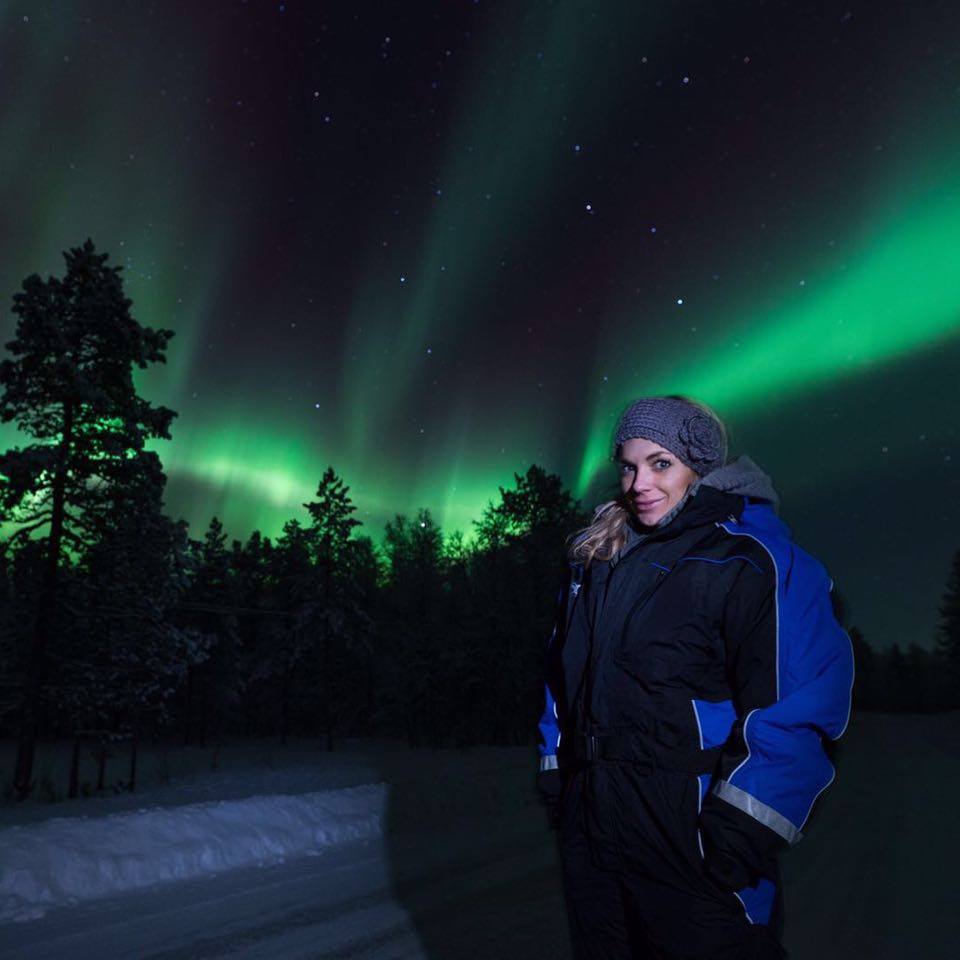
As the token solo travel photo taker, I have to admit that there’s no way I’d be able to take picture of myself that you can actually see, in front of the Northern Lights. You have to have someone else, even two people take the photo of you, and it takes concise formatting and timing.
This was a very interesting trick that I spent a very long time observing during my chases, mostly because I was so intrigued at how well it worked. As I mentioned, you need a long exposure and a few seconds in order for the camera to capture everything. But while it’s capturing the light behind you, you can manipulate the frames by adding in a split second of light on your face, that ends up highlighting the foreground (you) as well as the background (the Northern Lights) in one picture.
For example, the guides would position me in front of the lights, tell me not to move, hit the shutter button, count a few seconds then quickly “pop” the flash light on me, then tell me to keep not moving for the remainder of the seconds it takes to get the photo. It’s not easy, but if you have good guides and photographers like I did, they’ll be able to get you an awesome shot that you’re actually visible in.
Making a Light Painting

What do you do when your Northern Light pictures aren’t coming out as awesome as you wish they would? Make them more interesting by adding in a light painting! During one of the low activity portions of my Northern Lights chase, one of my tour guides popped into my picture with a red light that he waved around, covered, waved around, covered, waved around, and covered again before jumping back out of the picture. I was slightly, well, really confused, but when I went to see how it came out on the camera screen, I was wildly amused!
They use the long exposure of the camera and a colored light to quickly “write” or “paint” something in the photo by “drawing” it with the light across different split-second frames. To make it easier to understand, imagine there are 1000 frames that are taken across six seconds, and at the end, they all get layered on top of each other to get the best aspect of everything in the scene.
By waving a light for one second at a time to make a letter or shape, let’s say 20 of those frames capture each fraction of that second, and thus the path that the light made. You cover the light so it doesn’t show up in the next frame, then start again where the next letter or shape should start, and do it again. Then the person with the light moves out of the photo with the light covered so the camera doesn’t pick up their image, and voila! All the frames come together to make a picture of you, the background, and a cool image made of light!
Disclaimer: I am very far from a professional photographer, all photos besides my lame iPhone one were taken by my guides at Chasing Lights. If any of the camera information is incorrect, that’s also because I’m not as skilled in DSLR talk as I am in GoPro selfies. ;P



Thanks for the sharing informative article.
I wanna go there so bad! But the plane ticket from Canada to Norway is over $2500+!
Why not go to churchill, Manitoba. That’s where I’ m going in February.
You can totally use your GoPro for the northern lights! You just have to turn on the right settings! I captured 3 nights worth of pics of the aurora using only my GoPro Hero 4
That’s awesome! What settings did you use, if you remember? I had a hero 3 at the time so it definitely did not get anything…and I’m pretty sure the battery immediately froze as well, lol!
Did you have to pay extra to get those pictures taken?
Nope, they were included with the tour! The guides were really great, and they will help you set up your camera settings as well if you have one!
Man, I wish there was a lighter, cheaper DSLR! I cant bring myself to buy one either, so expensive! AND heavy and complicated haha.
SAME! I feel like by the time I get it all set up for the picture I’ll just be over taking it, haha. That and I’m really good at breaking nice things…
Good advices!!! 🙂