I’ve been traveling full time for seven years now, and only learned last year how to easily file U.S. taxes for expats and digital nomads! For starters, yes, if you are a U.S. citizen living abroad, you STILL have to pay U.S. taxes, whether you’ve been away for a year or a decade! It’s actually one of the only countries with that requirement for expats, shocker, right?
We all know that filing our own U.S. taxes can be a nightmare (since no one ever teaches you this in school), but add in the extra hurdle of being an expat, with potential money made in other countries, and the nightmare might seem worse.

But it’s really not! H&R Block DIY for Expats makes it really easy, AND, they can potentially even save you money! I started using H&R Block Expat Tax Services last year with the advisor option because I needed three years of taxes filed. The experience was so easy, my advisor was amazing, and it felt great to be all caught up! Especially since you can get your passport taken away if you don’t file and pay your U.S. taxes! Eek!
This year, since I’m all caught up, I used H&R Block for Expats DIY Online Tool, which is cheaper and user-friendly. The instructions are extremely easy to follow in order to file U.S. taxes for expats, and all you really need are any U.S. tax forms (like W-9 or 1099), how much income you made, and your deduction costs!
I just finished doing mine (in only one day!) so I’ll explain my experience with the process below!
Disclaimer: This post is in collaboration with H&R Block, however all experiences, opinions, and writing are my own!
Jump To:
U.S. Tax Expats: BENEFITS
Let me go ahead and steal your attention for a second with some fun facts about benefits you may be able to get as an expat paying U.S. taxes!
For starters; Expats don’t need to pay their taxes until June 15, but you can always extend your filing deadline to October for free!
Depending on your situation, you may be eligible for credits or benefits, like the Federal Tax Credit (FTC), or the Foreign Earned Income Exclusion (FEIE), which might make you exempt from having to claim income on money made abroad! Woohoo!
You may also qualify for additional credits depending on how many days per year you stay out of the U.S.!
How Much Does it Cost to Use H&R Block for Expats?
There are three different options and all are super affordable and totally worth it! Again, trust me, I had an H&R Block advisor file three years of taxes for me, and did them on my own this year with the DIY online software. Here are your options:
- Starting at $99: For DIY software for people who are employed by someone else
- Starting at $149: For DIY software if you’re self-employed, or have investments like stocks or rental properties
- If you have multiple years of taxes to file, or just want the advantage of having personalized help, you can pay to use an advisor instead of the DIY tool! (I highly recommend Su Linda!)
How to File U.S. Taxes for Expats Using H&R Block’s DIY Tool
Below is an overview of the easy online process for filing your U.S. Expat Taxes using the H&R Block DIY software option!
Step 1: Enter Your Basic Info
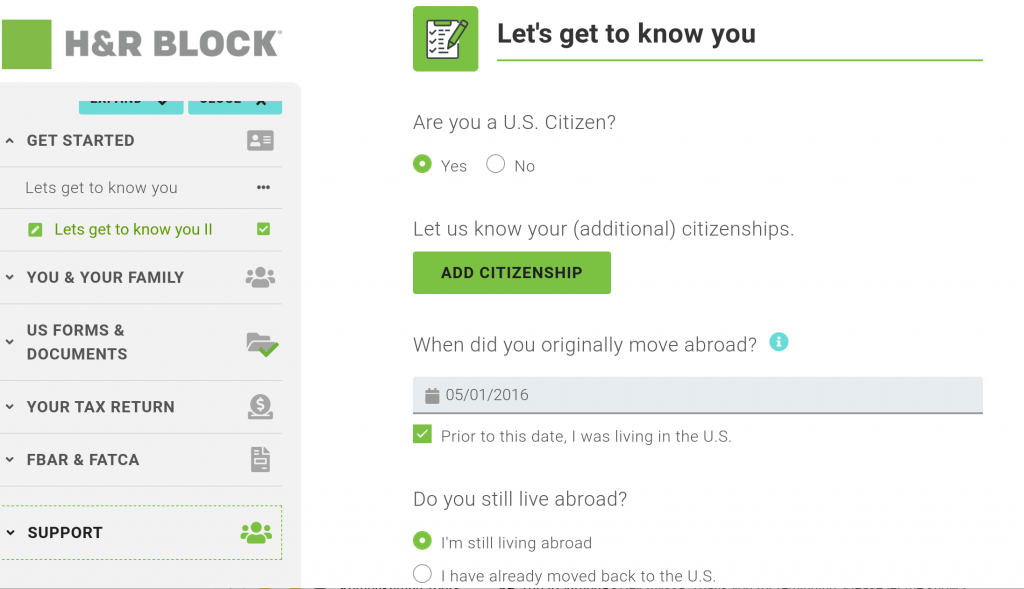
This is the easy part! Just fill in your basic information like name and birthdate. If you have citizenship in the country you’re living in, you can also put that info in here as well.
Step 2: Personal Details
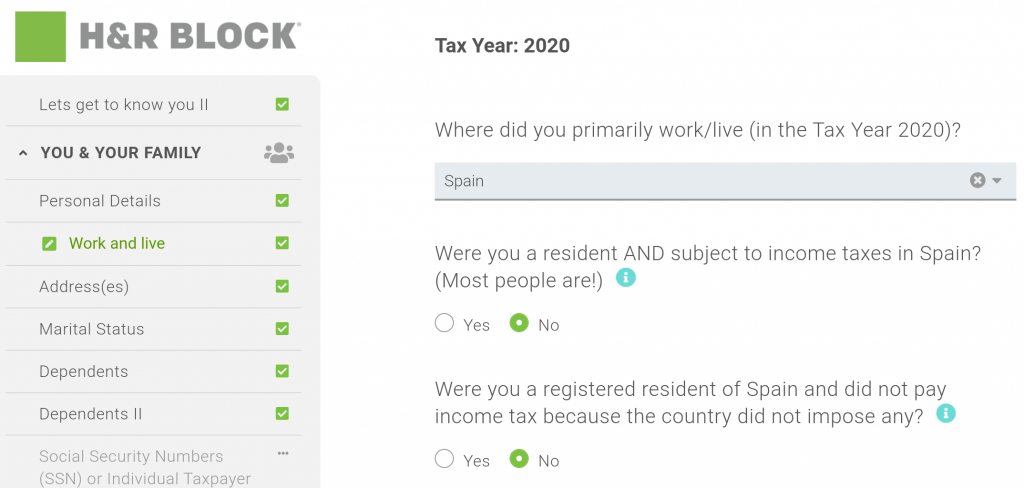
Here’s where the fun begins! Don’t worry, H&R Block’s DIY online tool is easy to read, understand, and follow!
The first question you’ll be asked is if you paid taxes last year — if you DID NOT, also don’t worry! You can switch to using an advisor and they can help you make up your taxes for what you missed.
You’ll also be asked in this section where you primarily lived/worked, and for all the addresses you lived at in 2020. If you’re like me, and you moved around a lot, this might require a little extra work to go find all of the addresses you lived at — but I found all of mine stored in my AirBnB account!
Finally you’ll be asked for your marital status, if you have any dependents, your social security number, what your occupation is, and your bank details including your routing and account numbers!
Step 3: Enter Your U.S. Standard Tax Documents
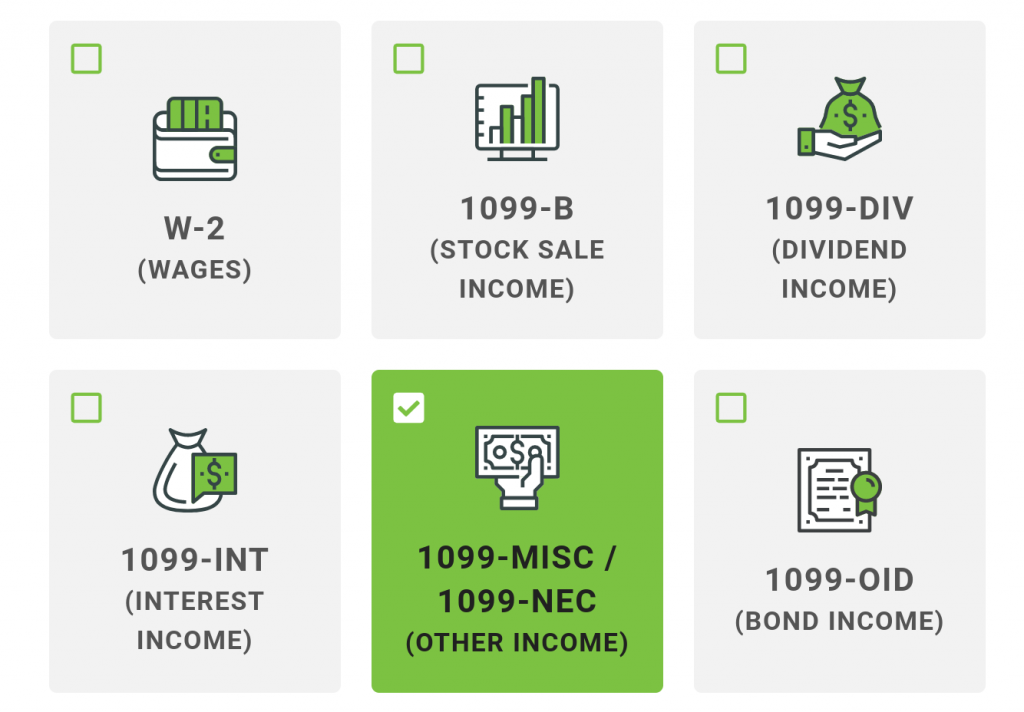
You know those scary looking forms people you work for send you for taxes? Now is when you need to go find them all, and enter their information! You’ll most likely either have W-2’s from an employer, or 1099’s if you’re a freelancer/self-employed, like me.
You should have been sent these forms, but if you weren’t asked to fill out a W-9 or other form, you may not be getting one, but you can still claim your income later.
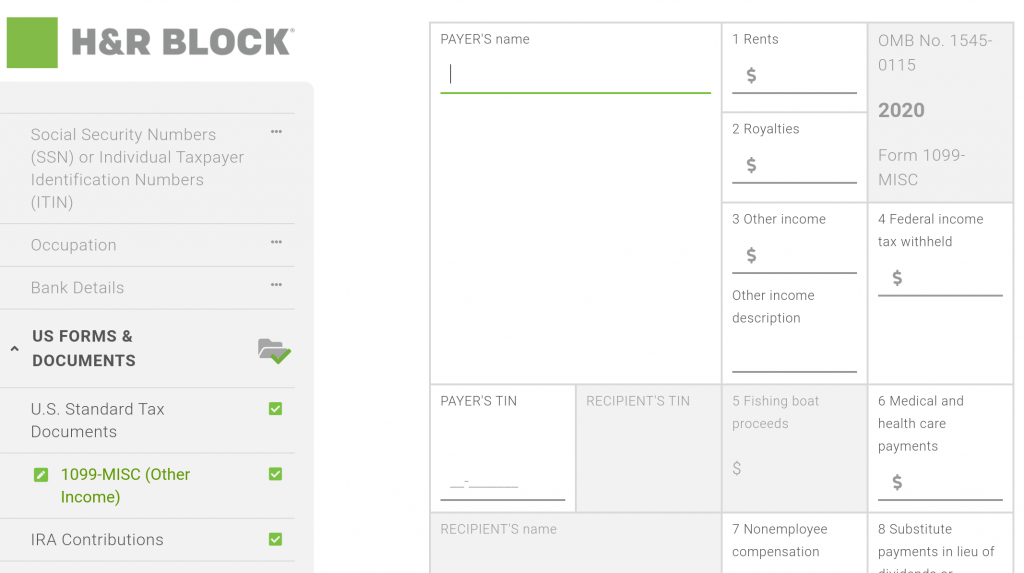
The good news is that no scanning and uploading is required! You just need to enter the information onto the template they have online. The bad news is that if you have a ton of different clients (like me), you will have a lot of entering to do! If it makes you feel better, I usually have to upload close to 100!
Step 4: How You Make Other Money
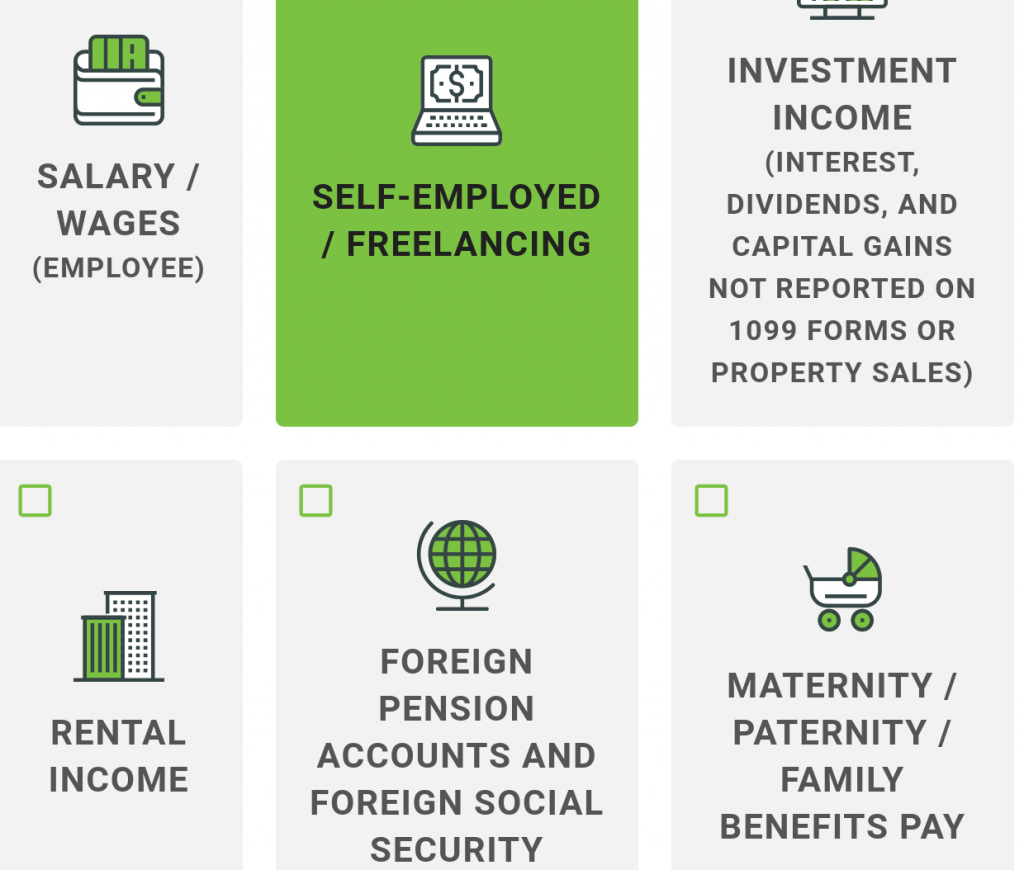
This section is where you add in any income you made that you don’t have a tax document like the ones in the previous section for. For example if you made any money on investments, child support, scholarships, interest, or any freelance work people paid you for.
You do not need to re-enter any amounts that you already filled out in the previous section though!
Step 5: U.S. Taxes for Expats DEDUCTIONS
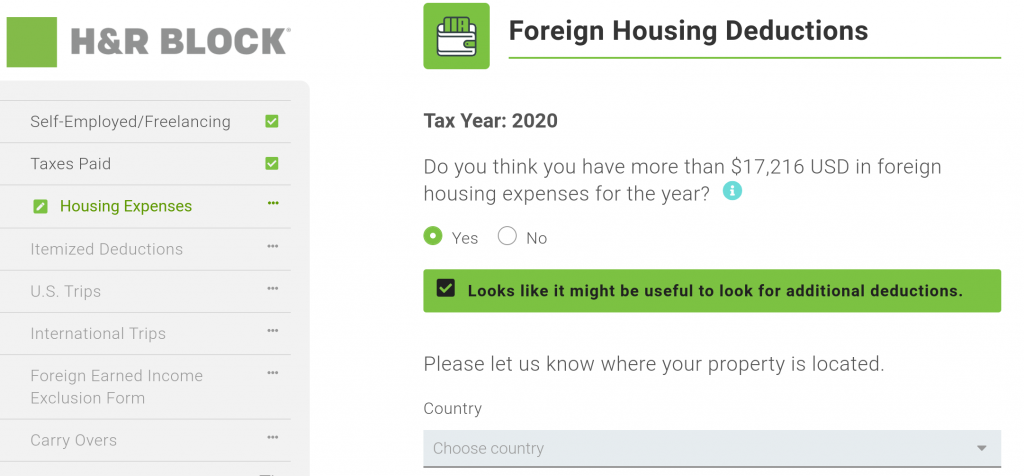
Here is the actual fun part about doing U.S. taxes for expats, no jokes aside! DEDUCTIONS! In this section you get to list all of your business and personal expenses, plus enter your travel details to see if you qualify for additional deductions!
Starting with housing, you’ll need to enter how much you paid for rentals or leases, utilities, repairs, and even parking! Then you’ll move on to itemized deductions.
Next you’ll be asked to enter the destinations and dates for U.S. trips and International trips. For U.S. trips, be sure to note that if you did not go there specifically for business you should mark “leisure” otherwise you may be subject to state taxes where you went!
If you’re a frequent traveler like me, it may be a little tricky to figure out the dates of all of the places you went to! In 2019 alone I went to almost 20 countries!
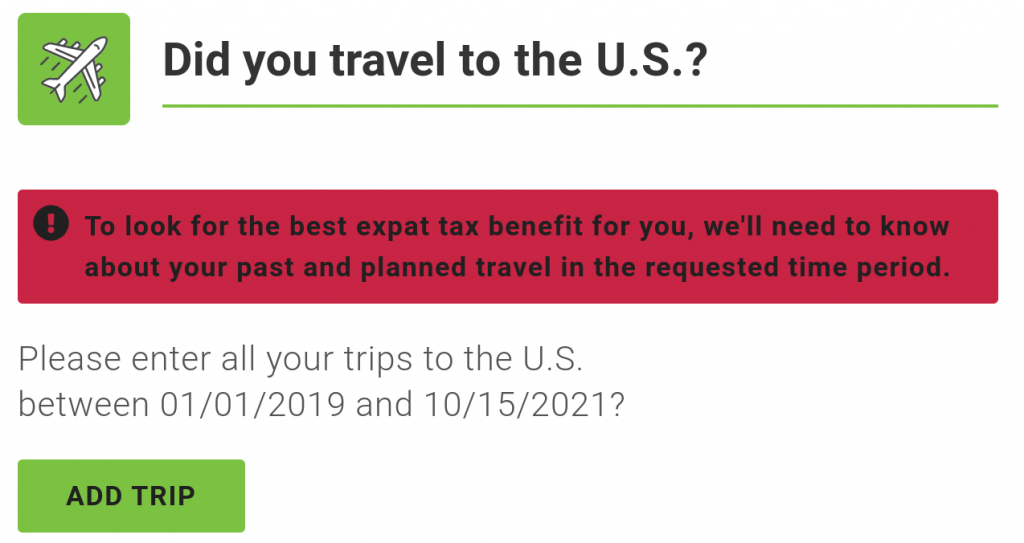
To help figure out my travel dates, I simply scrolled through Instagram and checked the dates of when I posted from each country! If you’re not an active poster, a quick search of the word “flight” in your email inbox can give you the exact dates of any flights you took!
Finally you’ll be able to apply for Foreign Earned Income Exclusion. As the name implies, this will allow you to claim up to $107k of foreign income as an exclusion to your taxes!
Step 6: FBAR and FATCA
Last but not least, if you have a Foreign Bank Account Report, you will enter the information for it here! I don’t have one, so I don’t have much input about it, but I do know it can help to you not get double charged for taxes!
SO! Now that you know how easy it is to file U.S. taxes for expats, you don’t have any excuses not to get a move on it! Get them done now so you have more time to enjoy the beautiful places that you’re in!


Very detailed post! This is exactly what my brother who is living in the US was looking out for.
Keep up the awesome work.